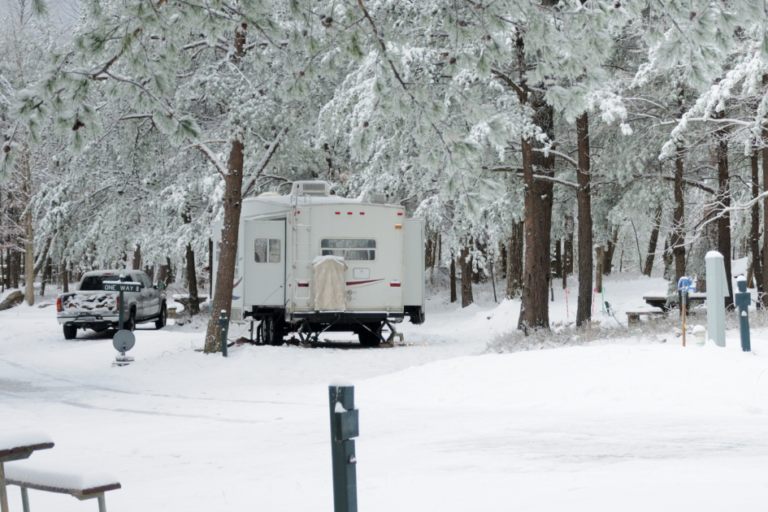
Winter is coming, so it’s time to prepare your travel trailer or fifth wheel for storage. Winterizing your RV is not difficult but requires attention to detail and a few supplies. If you follow these easy steps, you can protect your RV from freezing temperatures, moisture, and pests and enjoy a hassle-free camping season next year.
Supplies You May Need To Winterize Your RV
- 2-4 Gallons Non-toxic, Alcohol-free RV Antifreeze
- Water heater By-pass Kit, if not already installed
- Cleaners for your exterior, roof, and awning
- Towels, paper towels
- Wheel Chocks
- RV Roof Sealant & basic hand tools (for small repairs)

Step by Step Winterizing Process
-
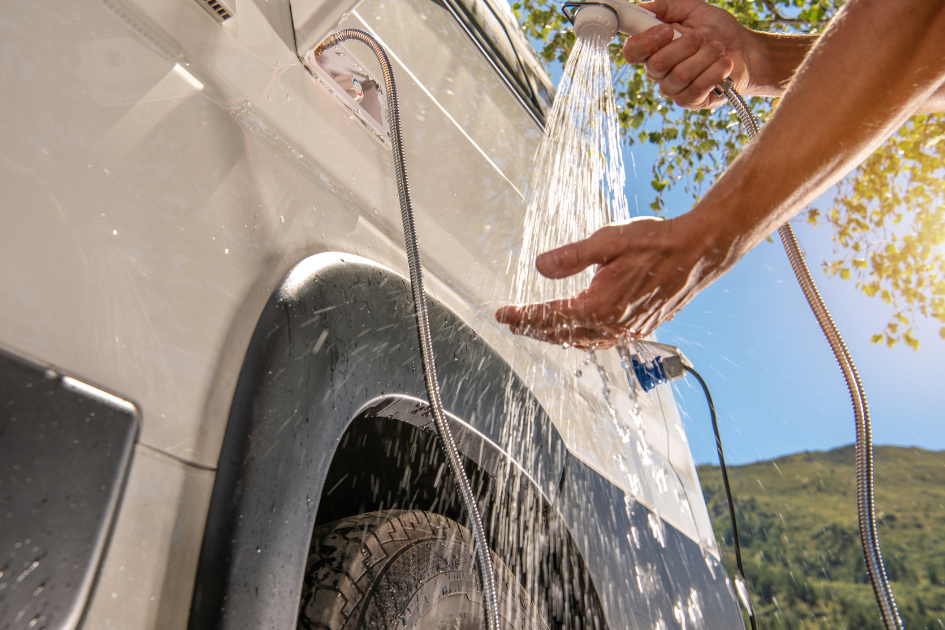
Drain and Flush Your Water System
Draining and flushing your water system is the first step in winterizing your RV. This will prevent any water from freezing and bursting your pipes, valves, faucets, or tanks. Here’s a few tips to help you do it:
- Start by draining all your holding tanks: black, gray, and freshwater. Use a sewer hose to empty the black and gray tanks at a dump station.
- Next, drain your water heater. Make sure the water heater is turned off and cooled down. Then, open the pressure relief valve and remove the drain plug or anode rod. You may need a wrench or socket to do this. Let the water drain out completely.
- Open all the low-point drains on your RV. These are usually located near the water pump or under the RV, and are marked with stickers or coloured caps (red for hot water, blue for cold water). Open all the faucets inside and outside your RV as well. This will allow the remaining water to drain out of the pipes. Don’t forget outside showers, kitchens, and spray ports.
- Close all the faucets and drains once all the water is drained.
-
Bypass Your Water Heater
The next step is to bypass your water heater. This will prevent antifreeze from getting into your water heater tank, which can damage it or reduce its capacity. Most RVs have a built-in bypass valve that you can access from the outside compartment of your water heater. If yours doesn’t, you can install a bypass kit connecting the hot and cold water lines.
-
Add Antifreeze to Your Water System
The next step is to add antifreeze to your water system. This will protect your pipes from freezing and cracking in cold weather. You’ll need non-toxic RV antifreeze that is safe for potable water systems. Do not use toxic automotive antifreeze, which can harm your RV.
- Make sure the water pump is in the “winterizing mode” to draw antifreeze from the clear siphon tube.
- Insert the siphon tube in the antifreeze container and turn on the water pump to pressurize the system.
- Slowly open the hot water faucet until antifreeze appears and then repeat for the cold faucet.
- Repeat this process on all faucets throughout the RV (kitchen sink, bathroom sink, shower, tub, etc.). Don’t forget outside showers, kitchens and spray ports.
- Replace the antifreeze container as required.
- Flush the toilet until antifreeze appears. Repeat multiple times to ensure the antifreeze enters the values properly. Pour antifreeze down each drain to ensure the “P-trap” fills completely with antifreeze. Don’t forget the tub. Quickly open and close the water heater by-pass valves to allow antifreeze into the fill tubes.
- Turn the water pump off and open a faucet to release the pressure in the system.
- Find the city water intake (outside the RV) and remove the small screen over the inlet. Push in on the valve until you see antifreeze. Repeat the process as needed. Replace the screen.
- Make sure all the faucets are closed.
Lastly, Consult your owner manuals or a Christie’s RV Service Professional for winterizing ice makers, washing machines, washer/dryer prep, and water filtration systems. Winterize outside shower, washer/dryer prep, etc. regardless of use.
-
Disconnect Your Batteries and Store Them in a Dry Place
Disconnect your batteries and store them in a dry place. This will prevent them from draining or freezing in cold weather.
To disconnect your batteries, turn off all the power sources in your RV, including the main disconnect switch and the breaker panel. Remove the negative cable first, followed by the positive cable. Label your cables to make it easier to reconnect them later.
Store your batteries in a warm, dry place, like your garage or basement. Do not store them on a concrete floor, as this can drain their power. Check the battery charge level periodically and recharge them if needed.
If you have multiple batteries or a solar system, follow your owner’s manual instructions.
-
Lubricate Your Locks and Hinges
Lubricate your locks and hinges to prevent them from rusting or seizing in cold weather. You’ll need a spray lubricant suitable for metal parts, such as WD-40 or silicone spray.
Spray some lubricant into each lock and hinge on your RV, including the doors, windows, compartments, slides, and jacks. Work the locks and hinges back and forth to distribute the lubricant evenly.
-
Clean Your RV Interior and Exterior
Clean your RV interior and exterior to prevent dirt, mold, or pests from damaging your RV. Make sure to leave some ventilation in your RV to prevent moisture buildup.
Wash and dry your RV with a mild soap and water solution for the exterior. Check for cracks or leaks in the roof, walls, windows, or seals. Repair any damage with a sealant or tape compatible with your RV’s material. Apply a coat of wax or protectant to your RV’s exterior to shield it from UV rays, rain, snow, or dirt.
-
Cover Your RV Wheels and Body
The final step is to cover your RV wheels and body to protect them from sun, weather, or animal damage.
For the wheels, use wheel covers that fit snugly over your tires. This will prevent them from cracking or losing air pressure in cold weather.
For the body you can use an RV cover that is breathable and water-resistant. This can help prevent moisture from getting trapped under the cover and causing mold or mildew. It is not recommended to use a tarp or plastic sheet as a cover.
Secure the cover tightly around your RV with straps or cords. Leave some openings for ventilation and access.
Here are a few more useful ideas to maximize the lifespan of your RV tires:
- Unload your RV to reduce the weight on your tires
- Store it in a cool, dry, and covered place with minimal UV exposure
- Move your RV every three months to prevent flat spots and tire cracks. This is especially important if you don’t put your RV on jacks
- Check and adjust tire pressures before taking your RV out of storage
- Visually inspect tire sidewalls (inside and out), seams, and tread before your next trip
- Consult your RV mechanic on your tire rotation schedule before your next adventure.
You’re done! You’ve successfully winterized your travel trailer or fifth wheel. Now, you can rest assured that your RV will be ready for another season of camping adventures when spring arrives.
If you have any questions or concerns about your RV, please contact the service specialists at Christie’s RV and call 705-777-2200. We will be happy to help however we can.