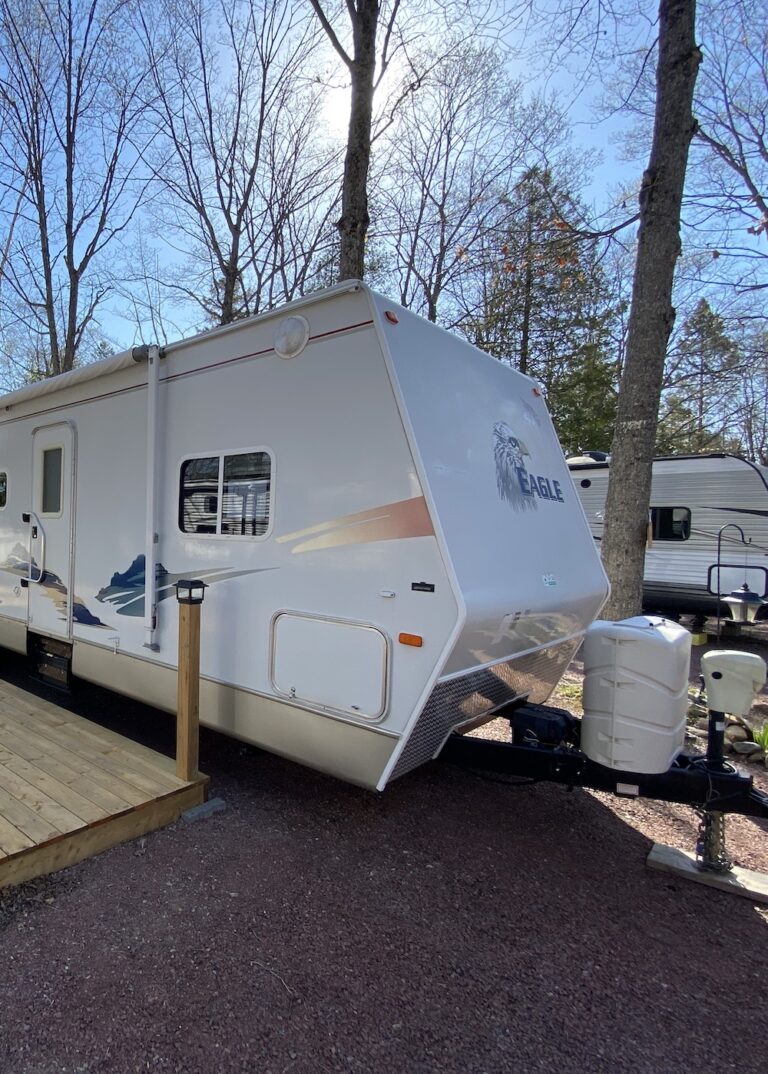
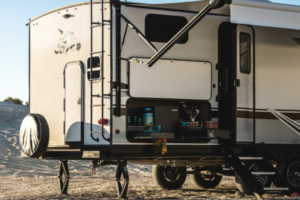
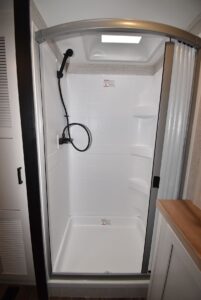
When the weather gets noticeably warmer, it’s time to get your trailer ready for camping season!
The de-winterization process can take up to several hours, so we recommend you take action a few weeks prior to your first RV outing of the year.
Here is a complete checklist of everything you’ll need for Annual Summerizing RV Maintenance to ensure your trailer is ready for adventure!
Wash your RV
The clean exterior of your RV is the best place to start with summer-izing maintenance.
- Fill a bucket with water and RV-specific soap, preferably an eco-friendly brand such as, 4-U Cleaner. Other recommended products include, Dri-Wash, Magic Boss Black Streak Remover, Awning cleaner.
- Wet down the trailer with water, remove all dust and dirt. Use a regular sprayer and an extendable, soft bristle brush.
- Clean your RV roof, using rubber-specific cleaning products to help protect and treat the roof properly. For example, clean rubber roofs first with Boss Rubber Roof Cleaner then treat afterwards with Boss Rubber Roof Treatment.
- Extend your awning, check for any damage at the end of the awning rail, clean with Boss Awning Cleaner, then give your awning a rinse and leave it out to dry.
- Wash the trailer by section, starting at the top of the wall and rinsing all soap and grime off.
- Clean the windows, pay attention to any peeling or cracking in caulking.
- Shine tire rims, and rinse the wheels.
Pro-tip: Avoid pressure washing, it damages decals and water could be forced into exhaust vents and sensitive electronic components.
AND
Do not use a Flow Thru brush, as it washes away your soap before you get a chance to scrub off dirt.
Roof Inspection
Regular cleaning of your roof makes inspections quick and easy.
- Prior to walking on the roof, be sure your shoes are clean and free of anything sharp.
- Carefully use your ladder if your RV roof is walkable and check for damage. On a non-walkable roof, safely inspect the roof from a sturdy telescoping ladder.
- Inspect the roof for any cracks, tears or holes in the roof membrane. Make note of any damages and make plans to fix them, or see an RV service expert at Christie’s RV.
- Look for signs of water damage, especially from heavy snowfalls and winter wear.
- Check roof seams and seals for shrinkage, peeling, deep cracks, gaps, voids or adhesions. Look at any seams or seals along the edges and transition moldings of the roof.
- Re-seal and touch-up any surface cracks around seals and seams as needed. Make sure to use the proper products to avoid further damage and/or complications. Contact our Parts & Service department for more information.
Pro-Tip: Not only will regular roof inspections extend the life of your RV roof membrane, it’s also a requirement for most warranties.
Examine Your RV (& Note Any Repairs)
Now that your RV is clean, it will be easier to spot any concerning details and address them right away.
- Inspect all vents, windows, storage compartments, doors for cracked caulking. Ensure to replace any peeled or cracked caulking.
- Check all exterior seals connected to slides, doors, windows, vents, mouldings, etc. for looseness or gaps (at least twice a year). Replace the seals if necessary.
- Look for signs of water damage, especially on the roof and along seams. Pay attention to areas with heavy snowfall.
- Inspect your hitch, specifically for rust or other damage, and replace any broken parts.
- Check the function of all exterior lights, such as the brake lights, taillights, running lights and turn signals. Replace any broken or burnt out bulbs.
- Check your tire pressure with a tire pressure gauge. Consult your RV manual for tire pressure recommendations based on the load being towed. This helps to avoid uneven wear on your tires, extends their life and contributes to overall safety.
- Inflate your tires to the recommended pressure and check for any uneven wear or tread deformities. Make sure your tires are cold to ensure the most accurate tire pressure reading.
- Lubricate stabilizer jacks, steps and other moving parts of the exterior unit, including door locks, cylinders, awning knobs and the TV antenna. (Recommended product: Moov-it Spray)
- Test-run all appliances to make sure they’re working properly.
- Prevent moisture build-up inside the trailer by placing a moisture absorbent product such as Dri-Air or Damp-Rid on a clean surface.
Charge & Re-install RV Batteries
When your RV isn’t connected to power, your batteries play a crucial role in running your cooking appliances, refrigerators, water heaters, awnings, etc. You want to make sure your batteries are ready for when you need them next.
- Disconnect your RV from any electricity for the most accurate reading.
- Check the charge of your batteries with a voltmeter. NOTE: A 12-Volt battery will read 12.7 volts when fully charged.
- To charge your RV battery, turn off any and all appliances.
- Remove the charging cables from the battery leads with a wrench. Start with the black cable and then the red cable.
- Check the battery water level. If the water is below the plates, refill with distilled water.
- Re-attach the charger cables to the battery. Start with the red cable and then the black cable.
- Plug the charger into the power source, turn it on and allow your batteries to completely charge.The charger generally will have a light indicating when the battery is charged.
- Turn off the power source and disconnect the battery from the charger.
- Re-check the water level and fill with distilled water to the recommended level.
- Reinstall the RV batteries to ensure connections are clean, tight and safely secured.
NOTE: If you remove the batteries, be very careful with wiring. Make sure the positive and negative wires are clearly marked.
Pro-Tip: To extend the life of your RV battery, don’t let your battery drop below 50% before recharging. If you decide to replace the batteries, always replace multiple battery packs together. Never add a new battery to an old one.
De-winterizing Your RV
It’s time to wake your RV up from its winter hibernation and get it ready for camping season!
- Connect a garden hose to the City Water Connection on your RV and turn on the water faucet.
- Adjust water heater valves from bypass mode and into the normal position and turn on the hot and cold water.
- Drain your hot water heater until it runs clear and install the drain plug in the water heater.
- Flush all lines one at a time until all faucets run clear.
- Check all faucets and pipes for leaks inside your RV. Open cabinets to better notice any potential water spraying. And flush your toilet a few times.
- Drain your fresh water tank completely to remove all antifreeze and replace it with fresh, potable water.
- Turn on the water pump and flush fresh water throughout the system. Keep the water running until all of the antifreeze has been flushed out and the water runs clear.
- Turn off all of your faucets and the water pump, and install all drain valves
- Replace all water filters, if applicable.
Sanitizing Your Fresh Water System
After flushing your water system, it’s important to sanitize it and remove any bacteria build-up or mold. You want to ensure your drinking water is clean and fresh.
- Fill your Fresh Water Tank halfway with water.
- Determine the amount of bleach needed to sanitize your system. Measure ¼ cup of bleach for every 15 gallons of water in your tank.
- Dilute the bleach in at least a gallon of water and use a funnel to pour your mixture into your fresh water tank.
- Fill up the tank to full capacity with potable water.
- Turn on all of your faucets until the water flows steadily from them and you start to smell bleach.
- Leave the bleach in the tank for at least 3 hours and could be left to sit for up to 12 hours.
- Drain all of the bleach-water from the system and flush out the bleach from the faucets and drains.
Pro-Tip: Remove any remaining traces of the chlorine bleach-water, by dissolving ½ cup of baking soda in one gallon of very hot water.
- Pour the solution into the tank, fill the tank to full capacity.
- Pump the baking soda solution through the system and leave it for 8-10 hours or overnight.
- Drain the tank and flush the system twice with fresh water.
Check Your Propane System
Check your propane system to be sure seals and hoses haven’t dried out and cracked. A Propane Gas System Leak Test should be done annually to ensure your safety.
- Turn off all appliances that run on propane before you begin.
- Ensure there are no sparks or flames near the gas.
- Test the CO detector inside your RV to ensure it’s working properly.
- Open the propane valves and check for a rotten egg smell to identify any leaks.
- Apply soapy water or a leak detector solution on the valve and regulator.
- Slowly open the valve. Watch closely for bubbling or spurting that could identify a gas leak.
- Check for evidence of rodent damage on wires and hoses.
- Clean your LP gas appliances and test them by lighting them and bleed the air out of the system by running appliances.
- Check the refrigerator, turn it off and keep the doors open so it can return to room temperature before testing it in electric mode.
NOTE: IF YOU SUSPECT A LEAK, turn off the propane immediately and have a certified RV service technician inspect and repair the leak.
Pro-Tip: A gas leak test should be done annually, as RVs tend to expand or contract with temperature fluctuation, and road vibrations can also contribute to loose connections or damaged LP lines.
Bearing Service
Before embarking on an adventure, it’s wise to have your bearings inspected and serviced.
- Every 10,000 km intervals or once per year, you should have a regular scheduled bearing and brake check.
- When bearings are checked, there is a visual inspection of brake linings, magnet wear and general operation.
- Visually inspect your RV’s suspension components.
- Adjust air pressure to ensure your tires last longer and preserve their integrity.
Pro-Tip: Always check your tire pressure before moving your trailer to ensure the most accurate PSi reading.
Follow this Annual Summer-izing RV Maintenance checklist to de-winterize your RV and you’ll avoid all kinds of unwelcome surprises on your upcoming camping adventures.
Spending the time to clean and prepare your RV for the camping season will ease any stress and allow you to fully enjoy your first trip of the season.
If you have any questions or concerns about your RV, please contact the service specialists at Christie’s RV and call 705-777-2200. We will be happy to help however we can.


